
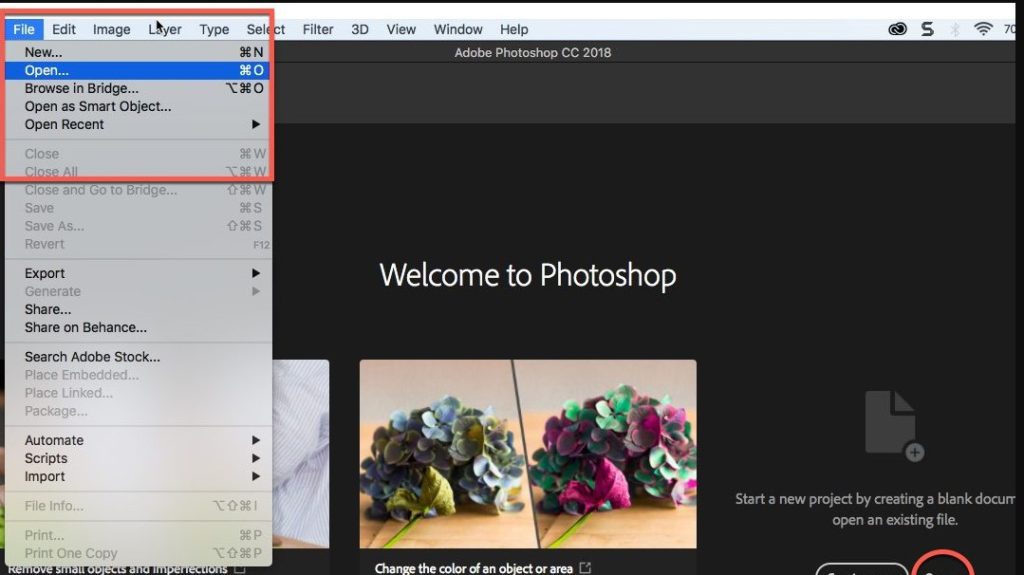
Step 1: Open an Image in Photoshop
First of all, open Adobe Photoshop CC and upload an image you want to work on. To do this, go to “File” > “Open” and select your image.
Step 2: Select the Color Tool in Adobe Photoshop
In the left sidebar of photoshop, you will see the “Paint Bucket” or “Paint Bucket” tool. It's'Color tool. Click on it to select it.
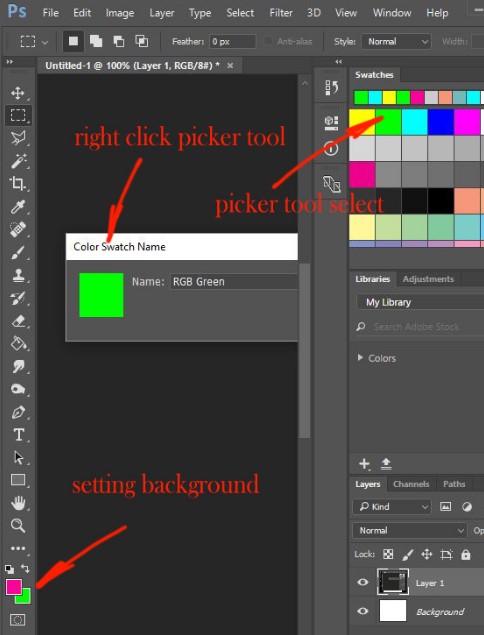
Step 3: Choose your foreground color
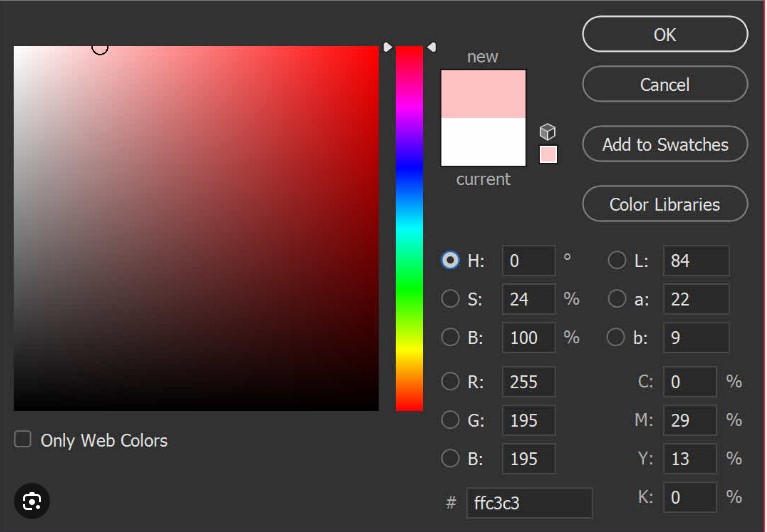
Above the Photoshop window, you will see two colored boxes. The color box at the top is the foreground color. Click on it to open the color picker and choose the color you want to apply to your image. Click “OK” once you have made your choice.
Step 4: Apply Color
Now that you have selected your color, you can apply it to your image. To do this, click anywhere on the image with the Color tool. The selected color will be filled in the area adjacent to where you clicked.
Step 6: Adjust and Tweak
Once you've applied the color, you can always adjust and fine-tune the result. You can useother Photoshop tools like eraser, the brush, or the selection tool to modify the colored area.
Step 7: Save Your Photoshop Work
Don't forget to save your work to preserve your changes. Go to “File” > “ Save as » to save your image under a new name or in a new format if necessary.
This is how you use the Color tool in Photoshop CC to fill areas of an image with a specific color. You can apply it to various projects, from photo editing to creating colorful illustrations. Explore the different options and techniques to master this tool.